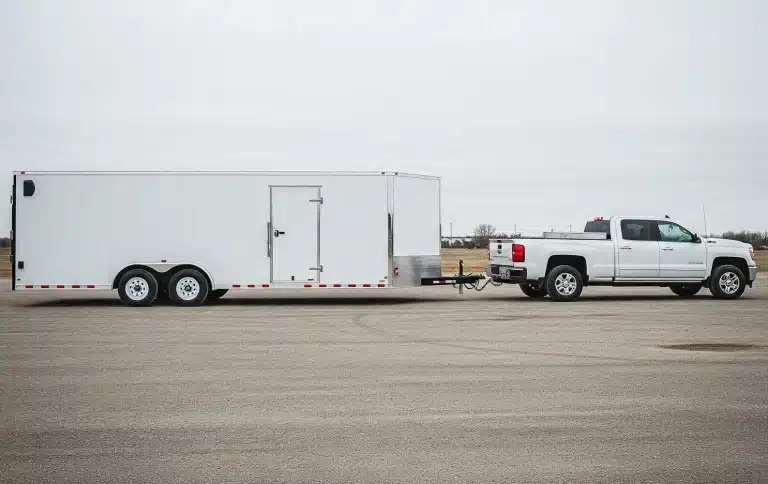
Installing a trailer brake controller can be slightly intimidating for first-timers. However, fear not—in this guide, we will walk you through the whole process, including what type of tools you need and how to perform electric brake controller installation step by step, answering all of your questions!
What Is a Trailer Brake Controller?
Before we jump into the installation process, let’s answer one basic yet important question – how does a brake controller work?
A trailer brake controller is a device installed in your tow vehicle that allows you to activate the electric brakes on your trailer. Think of it as a way to synchronize your vehicle’s braking with the trailer’s, ensuring smooth, controlled, and safe stops.
How Does a Trailer Brake Controller Work?
There are two main types of trailer brake controllers:
Time-Delay Controllers:
How they work: These are the simpler and more affordable option. When you apply your tow vehicle’s brakes, the controller activates the trailer brakes after a pre-set time delay. You can adjust the amount of braking force (gain) and the delay.
- Pros: Less expensive, easier to install.
- Cons:Can feel less smooth than proportional controllers, especially in situations requiring quick stops.
Proportional Controllers:
How they work: These are more advanced and responsive. They use a sensor (accelerometer) to detect how quickly your tow vehicle is decelerating. The controller then applies the trailer brakes proportionally to match the vehicle’s braking.
- Pros: Smoother, more coordinated braking, better control in various situations.
- Cons: More expensive than time-delay controllers.
Professional Installation
While some experienced DIYers can install a brake controller, it's generally recommended to have it professionally installed to ensure proper wiring and functionality.
We will walk you through the process, however, if you don’t feel confident in electrical installations, you may want to consider hiring a professional.
Tools and Materials Needed
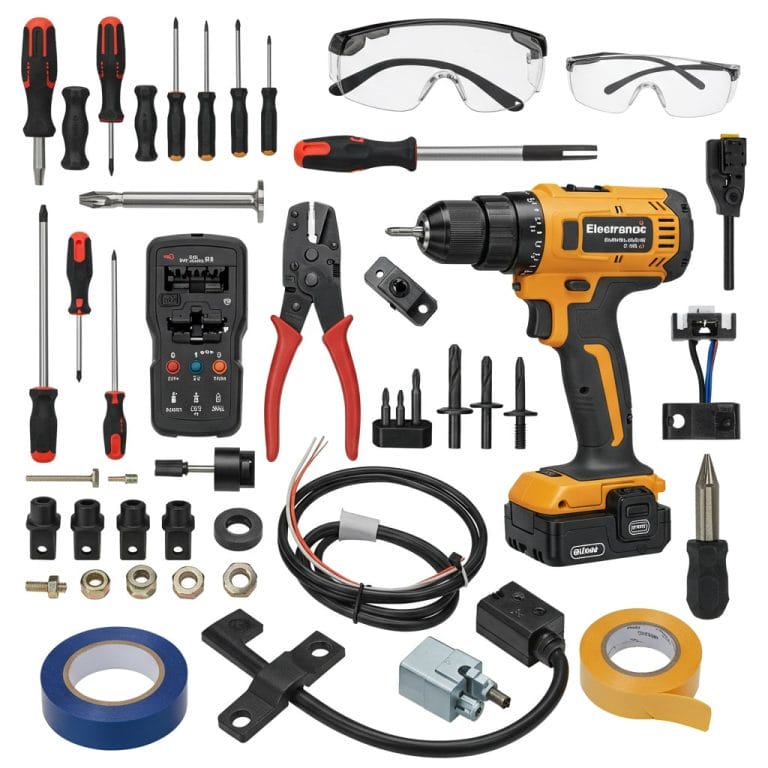
What tools do you need for electric brake controller installation?
Essential Tools:
- Screwdriver Set
- Wire Strippers
- Wire Crimpers
- Drill and Drill Bits
- Voltage Tester
- Wire Cutters
- Mounting Hardware
- Electrical Tape
- Safety Glasses
Trailer Brake Installation – Step-by-Step Guide
Installing a trailer brakes controller can seem daunting, but with careful planning and execution, it’s a manageable project. Our first and most important recommendation is to always consult your vehicle’s wiring diagram and the brake controller’s instructions for specific details.
Safety First
> Disconnect the Battery: Before starting any electrical work on your vehicle, disconnect the negative battery terminal to prevent accidental shorts.
> Work in a Well-Lit Area: Ensure you have adequate lighting to see clearly and avoid mistakes.
Step 1: Disconnect the Negative Battery Cable
Absolutely crucial! This prevents electrical shorts and potential damage to your vehicle’s systems or injury to yourself.
- Locate the negative battery terminal (usually marked with a “-” symbol).
- Use a wrench to loosen the nut on the negative battery cable clamp.
- Carefully disconnect the cable and move it away from the terminal. Tuck it somewhere where it won’t accidentally touch the terminal.
Step 2: Determine the Mounting Location
- Choose a spot for the controller that’s within easy reach while driving and where the display is clearly visible. Below and to the side of the steering wheel is a common choice, as is above the dash.
- Ensure there’s enough space for the controller and its wiring. Avoid areas where it might interfere with the pedals, the steering wheel, or airbags.
- Keep the controller away from sensitive electronics like CB radios or other RF transmitters.
- Once you’ve chosen the spot, use a pencil or marker to lightly mark the mounting holes.
Step 3: Drill Mounting Holes
- Before drilling anything, double, triple-check what’s behind the panel you’re drilling into. You don’t want to damage wires, hoses, or other critical components. If possible, remove the panel to get a clear view.
- Use the brake controller mounting bracket as a template to mark the hole locations.
- Use a drill bit of the correct size for the screws or bolts you’ll be using. Wear safety glasses! Drill carefully and slowly to avoid cracking the panel.
Step 4: Fasten the Brake Controller into Place
- Position the mounting bracket over the drilled holes.
- Install the screws or bolts provided with the brake controller. Be careful not to overtighten and strip the holes.
- Attach the brake controller to the bracket using the bolts provided. Again, don’t overtighten.
Step 5: Plug in the Brake Controller (Wiring)
- This is where your vehicle’s wiring diagram and the brake controller’s instructions are absolutely essential. You’ll likely need a vehicle-specific wiring harness.
- The location of the factory wiring harness connector varies between vehicles. Your documentation will tell you where to find it. It’s often under the dash, but not always.
- Carefully plug the wiring harness into both the vehicle’s factory harness and the brake controller. Ensure the connections are secure.
*Wiring (If No Harness)
If you’re not using a vehicle-specific harness, you’ll need to carefully connect the wires according to the instructions. This usually involves connecting to the brake light switch wire, a 12V power source, a ground connection, and the trailer brake wire.
This is where having the correct wiring diagrams is absolutely critical. Use appropriate connectors (butt connectors, spade connectors, etc.) and ensure they are crimped securely. Soldering and heat shrinking are even better for a reliable connection.
Step 6: Testing and Finalization
- Carefully reconnect the negative battery cable.
- With a trailer connected, test the brakes in a safe, open area. Start slowly and gradually increase speed. Adjust the brake controller gain until you achieve smooth, balanced braking.
- Test the manual override function.
- Use zip ties or other means to neatly organize and secure the wiring, keeping it away from moving parts and sharp edges.
Troubleshooting Common Brake Controller Problems
Let’s cover troubleshooting some common issues you might encounter when installing or using a trailer brake controller.
No Trailer Brakes
- Check Connections: The most common culprit is a loose or incorrect connection. Double-check all wiring connections, both at the brake controller and at the 7-way connector on your vehicle. Ensure connectors are fully seated and locked.
- Trailer Brake Wiring: Verify the wiring on your trailer itself. Make sure the trailer brake wire is correctly connected and that there are no breaks or shorts in the wiring.
- Brake Controller Settings: Check the brake controller’s gain setting. It might be set too low or off. Increase the gain gradually.
- Trailer Brakes Themselves: Inspect the trailer brakes. Are they properly adjusted? Are the magnets or electric brake components in good working order?
- Fuse/Breaker: Check the fuse or circuit breaker for the brake controller circuit in your tow vehicle. A blown fuse is a frequent cause of brake controller malfunction.
- Ground Connection: A poor ground connection can cause all sorts of electrical problems. Ensure the brake controller’s ground wire is securely connected to a clean, bare metal surface on the vehicle’s chassis.
Weak Trailer Brakes
- Gain Adjustment: The most likely cause is an improperly adjusted gain setting. Increase the gain until you feel the trailer brakes engaging effectively.
- Trailer Brake Adjustment: Check the manual adjustment on the trailer brakes themselves. They may need to be tightened.
- Wiring Issues: A poor connection or a partially damaged wire can reduce the voltage to the trailer brakes, resulting in weak braking.
Brake Controller Not Displaying Anything
- Power Connection: Check the power connection to the brake controller. Is it receiving power? Check the fuse or circuit breaker.
- Wiring Issues: A loose or broken wire can prevent the controller from powering on.
- Controller Malfunction: If all connections and fuses are good, the brake controller itself might be faulty.
Final Thoughts
Having a properly functioning brake controller is paramount for safe and controlled towing, giving you the peace of mind to enjoy your adventures. Remember, smooth, balanced braking between your tow vehicle and trailer is the key, and now you have the tools and knowledge to achieve just that.
Now that you’re equipped for safer towing, perhaps you’re considering upgrading your trailer or customizing one to perfectly suit your needs?
At Millennium Trailers, we offer a wide selection of high-quality trailers, and our design your own trailer service lets you create a trailer tailored to your exact specifications. From size and features to specialized equipment, we can help you build the perfect trailer for your next adventure. Visit our website or contact us today to explore the possibilities!


