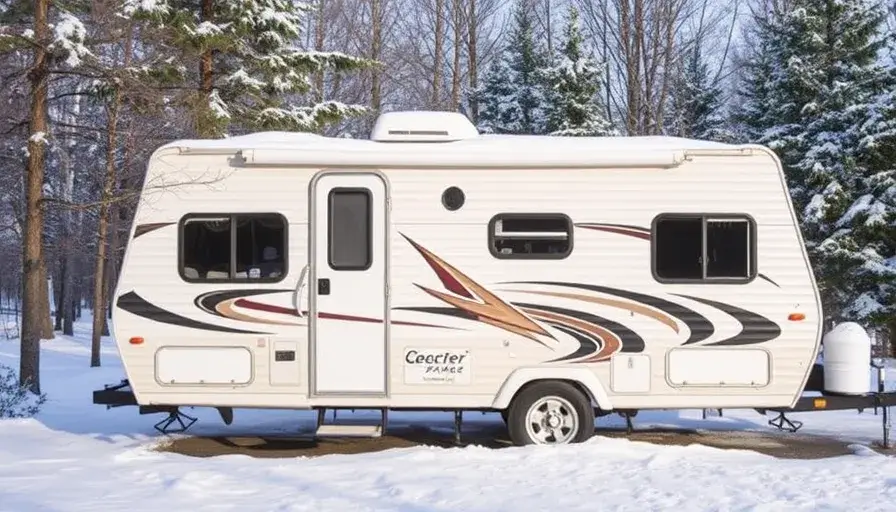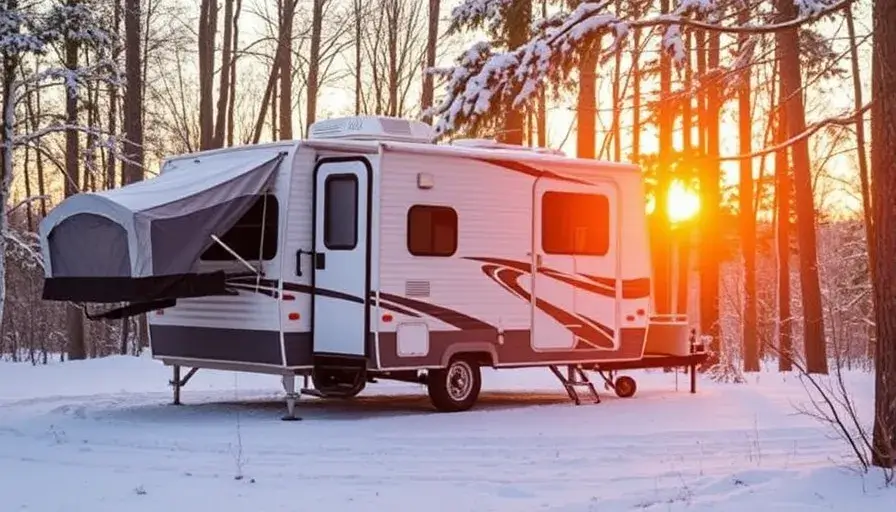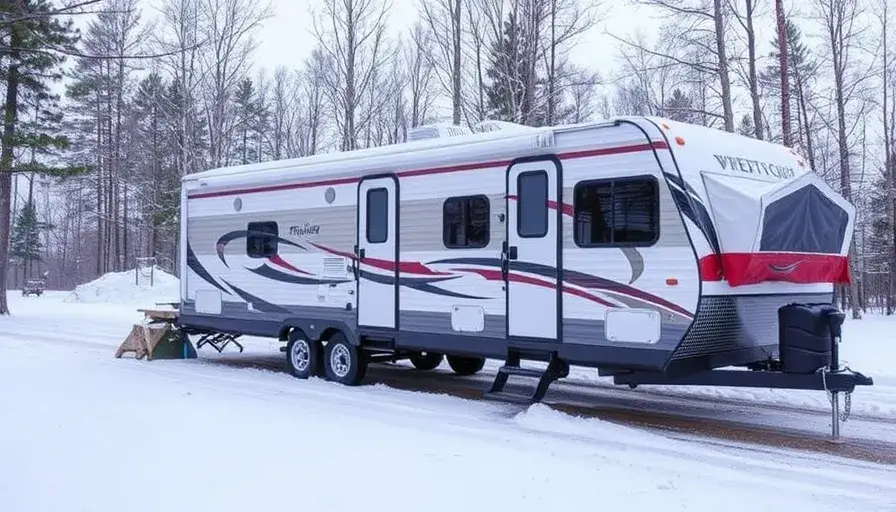

Keeping your travel trailer comfortable throughout the summer is fantastic, but what happens when the crisp autumn air arrives and winter’s chill sets in? Just like your home, your travel trailer needs some TLC to endure the colder months.
Here’s the good news: with some planning and this guide, you can easily winterize your travel trailer and ensure it’s ready to hit the road again come spring.
We’ll walk you through the entire process of how to winterize a travel trailer, from draining the water system and adding antifreeze to protecting the exterior and storing your batteries. By following these steps, you’ll safeguard your investment and avoid pricey repairs caused by freezing temperatures.
Getting your travel trailer prepped for winter storage is key to ensuring it’s ready for spring adventures. Here’s a quick rundown of how to winterize a camper trailer using these must-have tools and supplies:
Remember: Always consult your travel trailer’s owner’s handbook for explicit instructions on how to winterize your unit. These are just the general tools you’ll likely need.

Keeping your travel trailer cozy throughout the cold winter months is all about preparation. Ideally, you’ll want to know how to winterize camper trailer before the first frost hits.
This gives you ample time to ensure all the plumbing and systems are protected from freezing temperatures that can cause costly damage. Of course, winters vary depending on where you live.
If you reside in a region known for milder winters, you might have some flexibility with the timing. But for those in areas with harsh winters, it’s best to err on the side of caution and act sooner rather than later.
The key takeaway is that planning is your best friend. By winterizing your trailer before freezing temperatures become a threat, you’ll avoid scrambling and potential issues.
These could put a damper on the upcoming spring season when it’s time to understand how to de-winterize a travel trailer and hit the road again.
Let’s get your travel trailer ready for winter! Here’s a quick rundown of the key steps:
Pro Tip: Remember to save this guide for spring! You’ll need these steps in reverse order when you need to learn how to de-winterize a camper trailer.
When winterizing your travel trailer, the plumbing system needs special attention to prevent burst pipes from freezing temperatures. Two principal methods tackle this: antifreeze and compressed air.
Let’s look at both options.

Just like your car, your travel trailer’s battery feels the winter pinch. But with a little TLC, you can ensure it fires up come spring. Let’s talk about prepping your battery for the cold months.
First things first, consider disconnecting and removing the battery altogether if you plan on storing your trailer for a long winter nap. This prevents slow discharge from any lingering electrical gremlins.
If you’re keeping the battery on board, give it a thorough clean. Wipe down the terminals with baking soda and water solution to remove any built-up corrosion that can hinder performance.
Now, how do you keep that battery happy throughout the winter? If you have access to an outlet near your storage spot, consider a battery trickle charger. This little device supplies a tiny electric current, keeping the battery topped up and ready to go when you are.
Even without a charger, try visiting your trailer every few weeks and firing it up for a short drive or let it idle for a while. This circulation helps keep the battery charged and prevents what’s known as sulfation, a process that can damage battery life.
Your travel trailer’s interior deserves a clean and cozy hibernation, too! First things first, clear out any food items that might attract unwanted guests during the winter. Wipe down the fridge and leave the door slightly ajar to prevent musty odors.
While you’re at it, look around for any leaks or potential entry points for moisture. The windows are next! Cover them with breathable materials like Reflectix to add a layer of insulation, especially for areas prone to icy weather.
Don’t forget any compartments or cabinets—a little extra insulation goes a long way in keeping the interior protected from the winter chill.

Winter’s coming, and it’s time to shield the outside of your travel trailer. Let’s focus on those exposed water lines first. They’re like sitting ducks for freezing and bursting if water gets stuck inside.
We’ve got two options: Wrap them snugly with specially made insulation or detach them entirely and drain out any leftover water. This might be a job best left to a pro, but the peace of mind is worth it.
Next up, we have RV skirting. Think of it as a cozy winter coat for the underside of your trailer.
This breathable fabric creates a barrier to shield the undercarriage from wind, snow, and unwanted guests like critters seeking a warm winter haven. It’s a budget-friendly way to add an extra layer of protection to your travel trailer.
Finally, finding the perfect storage spot is crucial. Ideally, you want a place that’s dry, secure, and out of the elements, if possible. A covered storage facility is the dream, but even a sheltered area on your property can work in a pinch.
Just make sure there are no overhanging branches or other hazards that could damage your trailer during winter storms.
Winterizing your travel trailer can feel like a chore—especially when the temperatures are already dropping. But what if you could skip the hassle and ensure your RV is protected all winter long? That’s where Millennium Trailers comes in.
Our team of experts has years of experience in meticulously winterizing travel trailers. We know exactly what steps to take to safeguard your freshwater system, plumbing, and appliances from the damaging effects of freezing temperatures. By choosing Millennium Trailers, you’ll benefit from:
Don’t spend your precious time wrestling with hoses and antifreeze. Let Millennium Trailers take care of your travel trailer winterization, and relish the peace of mind that you have when you know your RV is protected.
You’ve taken a giant step towards protecting your travel trailer from the harsh winter elements. By following all the steps in this guide, you can ensure your RV is cozy and ready to roll again come spring.
Of course, if you have any questions or encounter any snags during the process, our friendly experts at Millennium Trailers are always happy to help. Feel free to contact us—we’re here to ensure your winterization goes smoothly and your travel trailer stays happy all winter long.
Millennium Trailers is your trusted partner for high-quality trailers at unbeatable prices. Serving all 50 states, we’ve delivered over 5,000 trailers nationwide.
Established in 1998, we’re a company dedicated to meeting your hauling needs with excellence. Whether it’s cargo trailers or custom living quarters, we provide a wide range of options to suit your requirements. Our knowledgeable and friendly team ensures a smooth buying experience with personalized assistance. Proudly offering competitive pricing, state-of-the-art designs, and easy financing options. Committed to customer satisfaction, we strive to simplify the process of finding your perfect trailer.
Choose Millennium Trailers for a reliable, customized solution that delivers quality and value for your investment.
Copyright 1998 – 2023 Millennium Trailers, Inc.